Save money by growing peppers year round inside your house
03/14/2019 / By D. Samuelson
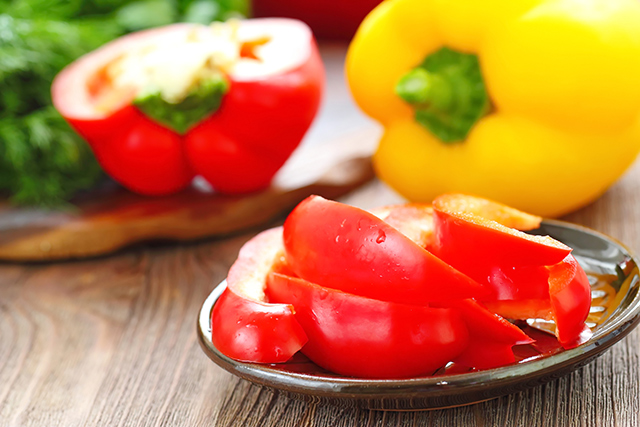
Organic peppers are wonderful, colorful vegetables that can add a zest to any meal, whether they are stuffed and baked, grilled, smothered onto enchiladas, tossed into salads or simply enjoyed as a raw snack. The taste of a pepper, depending on the type and size, varies from mild and sweet to spicy, burning hot — challenging and delighting the taste buds of many an eater. Bell peppers, in particular, have a nutritional profile that is extremely beneficial.
According to Healthline.com, one medium-sized bell pepper contains 169 percent of the RDA for vitamin C. Additionally, it has vitamin K1– which helps with blood clotting — potassium, vitamin E, folate and vitamin A. But that’s not all: It’s also packed with powerful antioxidants like quercetin, known for its potential to prevent chronic diseases, and capsanthin, a carotenoid shown to help protect against cancer. (Related: 11 Unknown Facts: What Bell Peppers Do for Your Body?)
Whatever color or type of pepper is your favorite, the prices are heading north. So, why not save money and try your hand at growing these delicious and healthful delights? Don’t worry about the weather, because we have the scoop on how to join the food revolution and grow peppers inside your home all year long.
If you’re using seeds, you can start any time. You’ll need equal parts of sand, vermiculite, and peat moss for your soil mixture. Place one seed — or two, depending on the size of your container — just under the soil, which should be “moist, not wet.” Those newly planted seeds need to be positioned for maximum sun exposure.
Mother Nature's micronutrient secret: Organic Broccoli Sprout Capsules now available, delivering 280mg of high-density nutrition, including the extraordinary "sulforaphane" and "glucosinolate" nutrients found only in cruciferous healing foods. Every lot laboratory tested. See availability here.
If you’re looking for a year-round harvest and already have peppers in your garden, just bring the growing plants inside by following a few simple steps.
- Begin the transplant in the cool of the evening before the first frost.
- Use a sharp trowel or shovel to dig around the perimeter of the pepper plant, carefully lifting up the soil that surrounds the roots.
- Transplant this to a plastic, drainable pot that should have a tiny bit of compost, not garden soil, in the bottom.
- Gently place your pepper plant in the new container and, if necessary, water lightly.
These newly transplanted peppers will stay outside for a few days in a shady spot until they recover. This also gives you a chance to check for insects.
After you’re assured the plant is clear of pests and is surviving, you’ll move it to “an in-between spot like a porch,” while preparing your grow area inside the house. Depending on the eventual size of the plant, you’ll need to choose your indoor location accordingly, keeping plants away from any smoke. You can place your plants directly under florescent bulbs; although for best results, you’ll need a combination of direct sunshine and indoor lights.
Peppers need more light than most plants, and they need to remain warm. The ideal temperature for your indoor pepper plants is from 65–75 degrees. In order for maximum fruit output, the plants will need light between 14 and 16 hours per day. Plants need to be fertilized weekly after the pepper’s flowers appear. The soil should be slightly dry to the touch before you water your pepper plants. It’s very important to not over water.
With the proper care, your pepper plants will be producing fruits in the winter months. Not only will you enjoy the nutritional benefits of the peppers of your choice, you’ll be saving money every time you reap a harvest.
Sources include:
Tagged Under: bell peppers, Homestead, how-to, indoor gardening, organic gardening, Pepper, survival


